Wednesday, October 13, 2010
Christmas Portrait Packages!
For those of you interested in getting Christmas card photos done I've got some great deals for you! I've spent a long time trying to iron out the details of my packages and what I would offer and I think I've finally straightened it all out. Here are the options you have available to you for getting your family Christmas card photos this year through Ali Smith Photography! For packages A and B, I have two dates and locations available and I will be filling these sessions on a first-come, first-serve basis (locations and times below). So, if you are interested, please don't hesitate to contact me and book your session! (Remember that the session fee is due upon booking to reserve your date and time slot)
(Quick note: I have more card styles to choose from, and am working hard to get them posted, so stay tuned for those!)
Wednesday, November 3rd and Saturday, November 20th at Katherine Albertsons park in Boise. I will be there all day and will be doing shoots starting at 8:30am and the last session of the day will begin at 6:30. (I will be taking a break from 11-1). Sessions will be available every half hour.
Wednesday, November 10th and Sunday, November 21st at Lakeview Park in Nampa. (Same details as above)
**If you need a different day than those listed, don't hesitate to ask. It may work out that we can squeeze you in on a day that I am already planning on being at a particular location or, since I live in Nampa, I have no problem fitting in a Lakeview Park session on most days.
Christmas package A $50
-A quick 15-30 minute session at one of the above locations/dates/times where I will simply snap a Christmas card photo (I may take extra photos that will be available for purchase, but not guaranteed)
-25 custom Christmas cards w/ envelopes (your choice of my available styles. Add $5 for Luxe cards)
Christmas package B $75 (you save $8!)
-A quick 15-30 minute session at one of the above locations/dates/times where I will simply snap a Christmas card photo (I may take extra photos that will be available for purchase, but not guaranteed)
-25 custom Christmas cards w/ envelopes (your choice of my available styles. Add $5 for Luxe cards)
-8x10 print
-$25 print credit
Christmas package C $150 (you save $20!)
-one hour session at location of your choice
-I will edit 5-10 photos which will be available for purchase (disc w/ print release for $50 or prints a la carte)
-25 custom Christmas cards w/ envelopes (your choice of my available styles. Add $5 for Luxe cards)
-The following prints, of the image(s) of your choice:
-10x14
-8x10
-two 5x7
-$50 print credit
Christmas package D $250 (you save $30!)
-standard 2 hour session at location of your choice
-CD with full print release of 10-15 edited high resolution images
-25 custom Christmas cards w/ envelopes
-The following prints, of the image(s) of your choice:
-10x14
-8x10
-four 5x7
-8 Wallets
-$50 print credit
Monday, October 11, 2010
Birth Announcements Available!
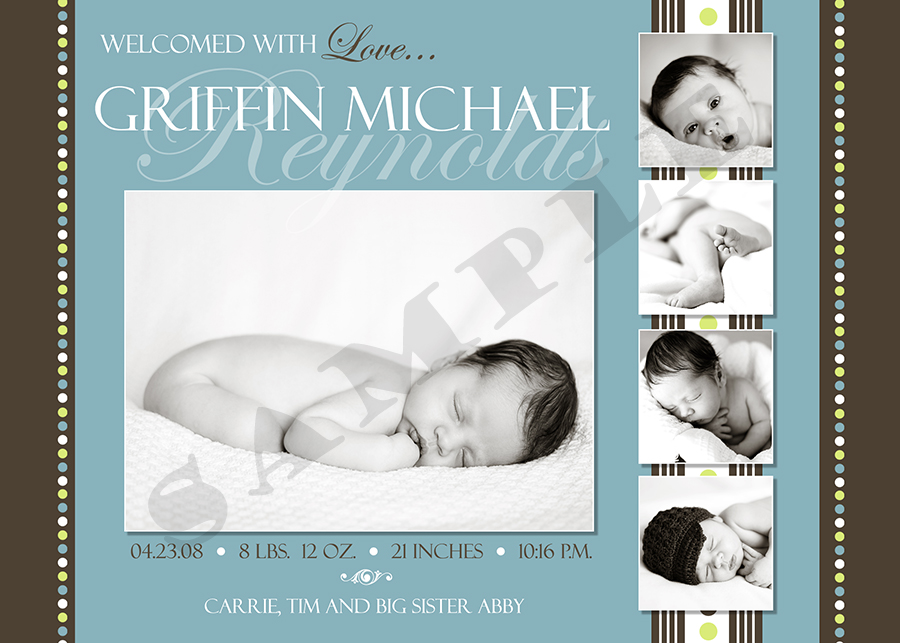
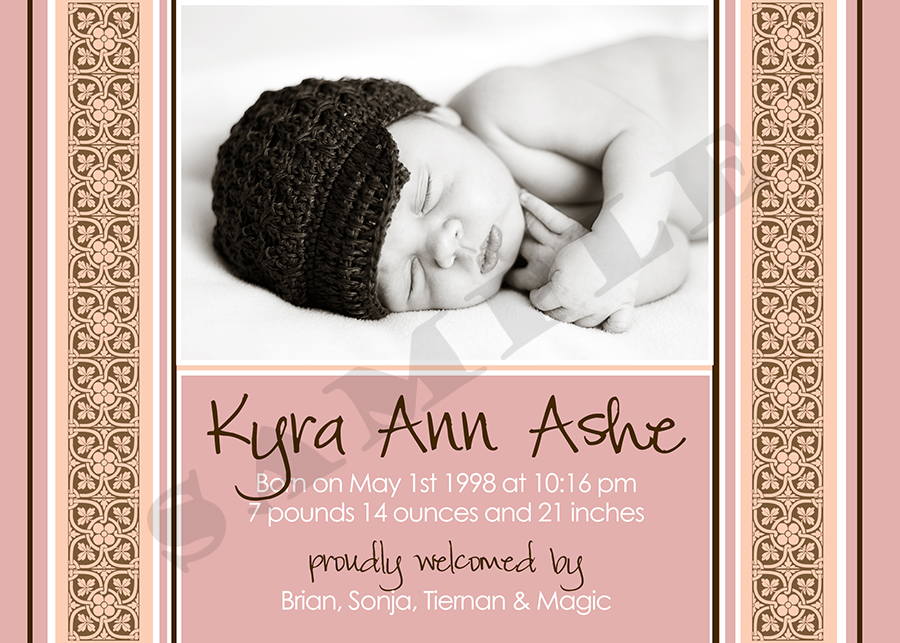
I'm so excited to be able to offer custom birth announcements! With some help from AsheDesigns, I now have a few super adorable styles to choose from (there are more available than those pictured). More will be added as interest in them increases. :) These come in sizes 4x6, 5x5, and 5x7. They are $40 for a set of 25 w/ envelopes. Below are a few samples... (Forgive the fact that I put a little boy's pictures in the girly announcement...lol. Someday I'll have a little girl's pictures to put there, but not yet!)
Sunday, October 10, 2010
Boise, Idaho Senior Photographer - Greg
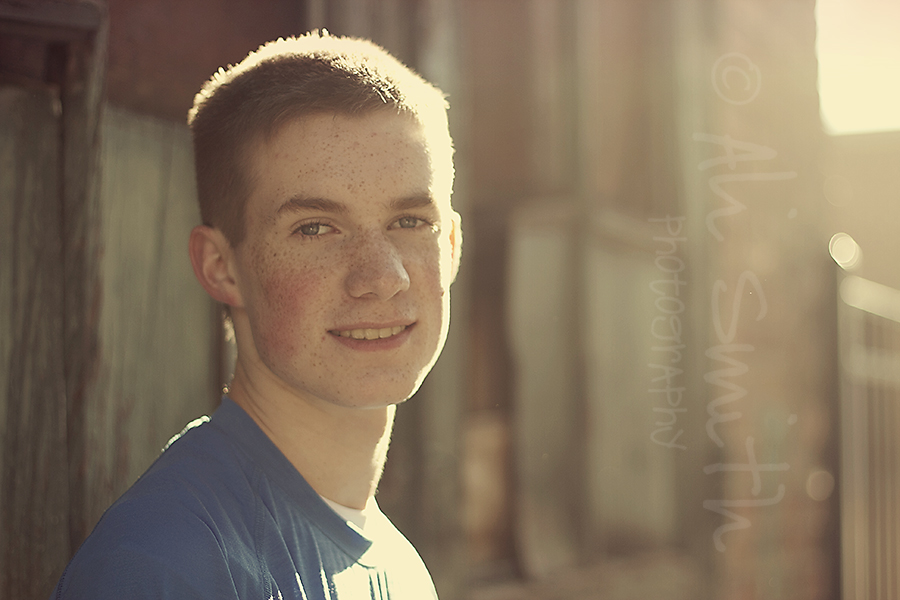
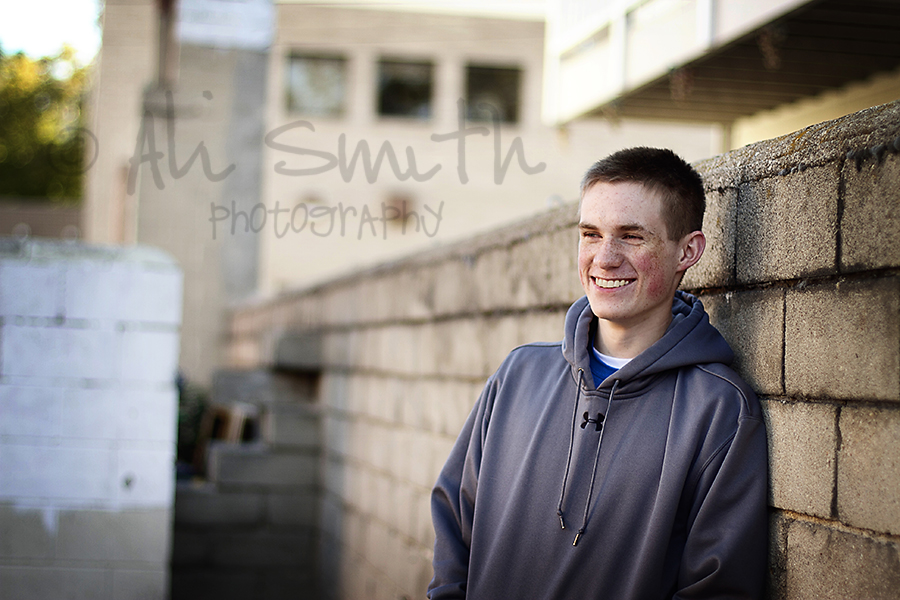
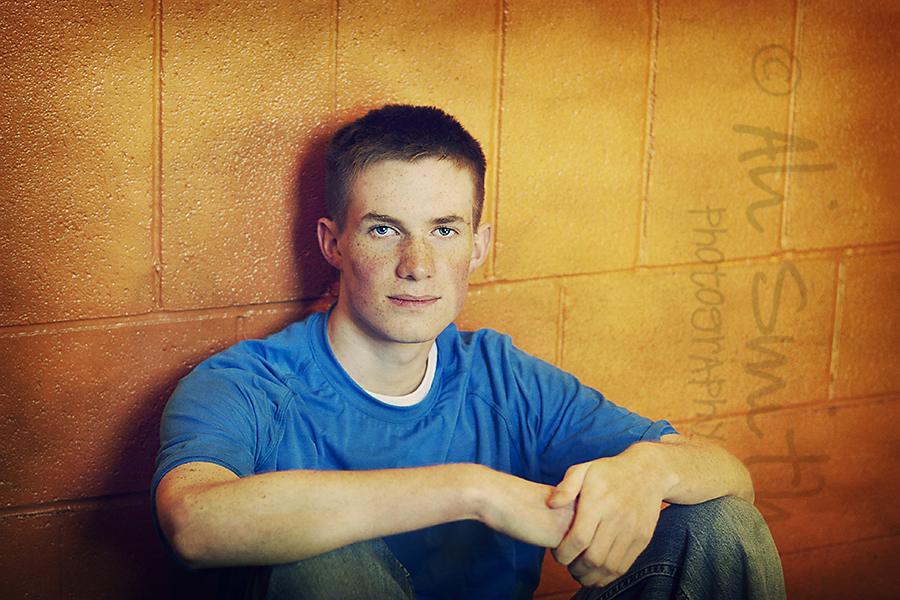
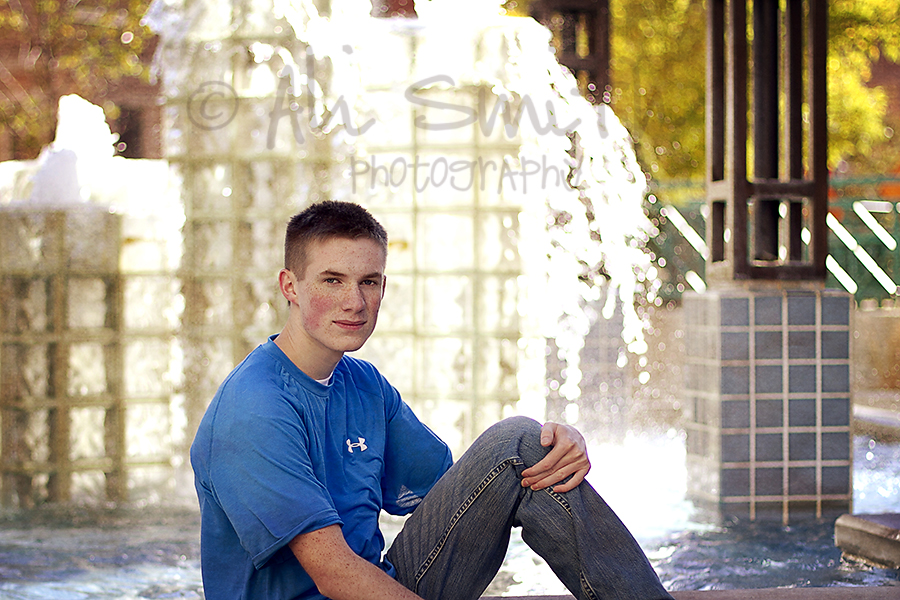
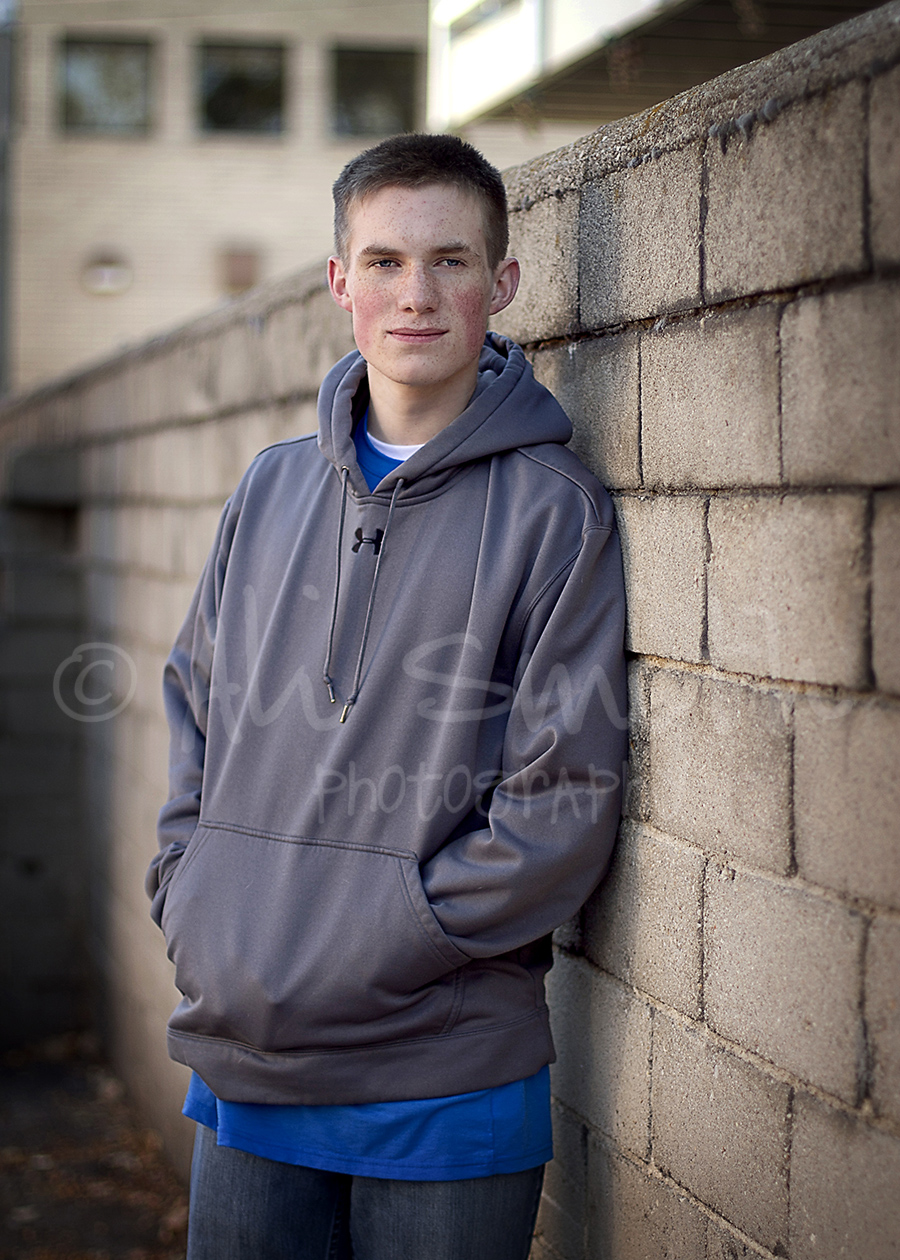
We braved the chilly weather this morning and headed downtown for this young man's senior shoot. He was a bit shy and a hard one to get to smile but I managed to snap a couple of them (some with the help of his mom) :) Thanks for roaming around downtown with me you two!
His mom was standing behind me doing something silly...not sure what it was she was doing, but whatever it was, it worked! He couldn't stop laughing...lol. Way to go mom!
Thanks to Greg and his mom for a great morning!
His mom was standing behind me doing something silly...not sure what it was she was doing, but whatever it was, it worked! He couldn't stop laughing...lol. Way to go mom!
And, the usual question....B&W?
Or color?
Thanks to Greg and his mom for a great morning!
Saturday, October 9, 2010
Boise, Idaho Newborn Photographer - Caleb
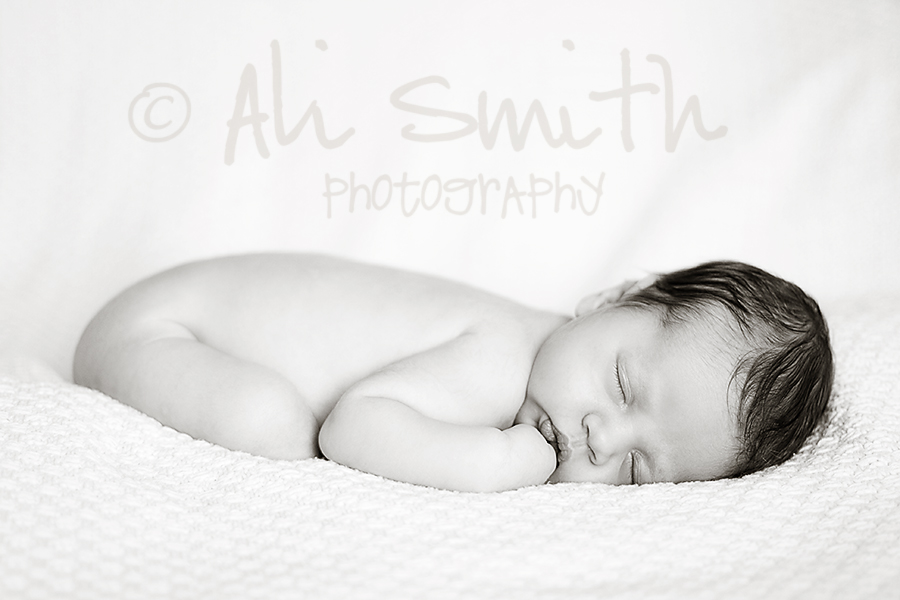
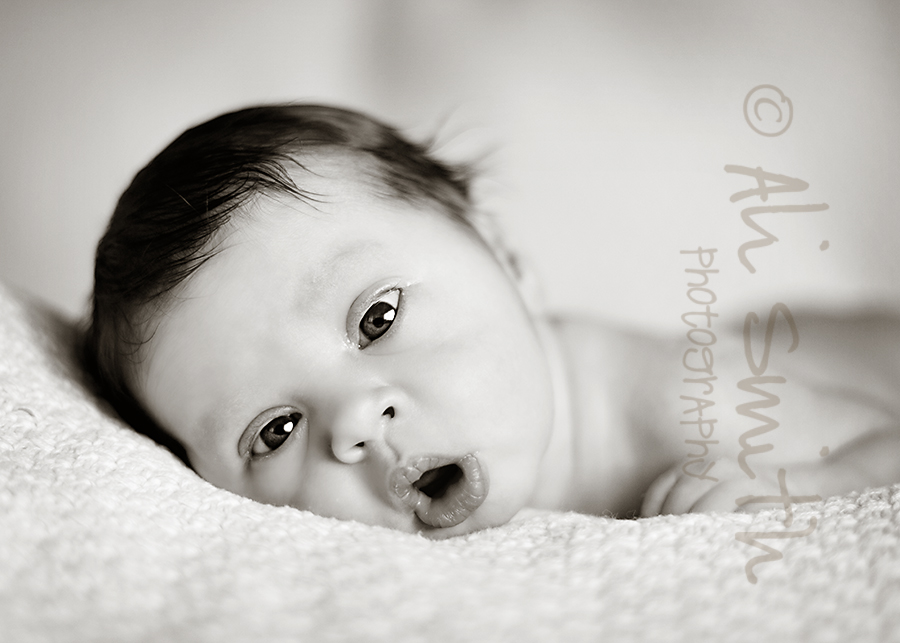
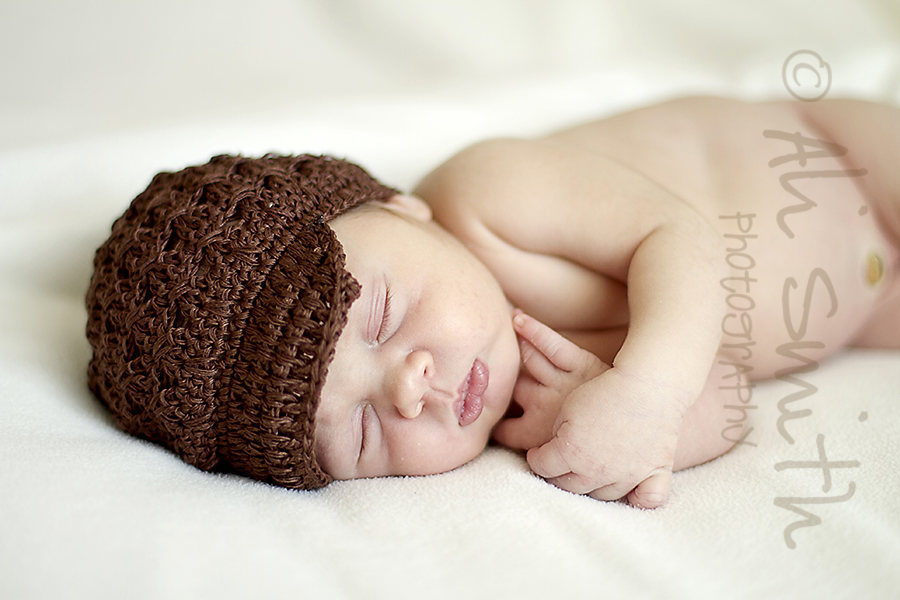
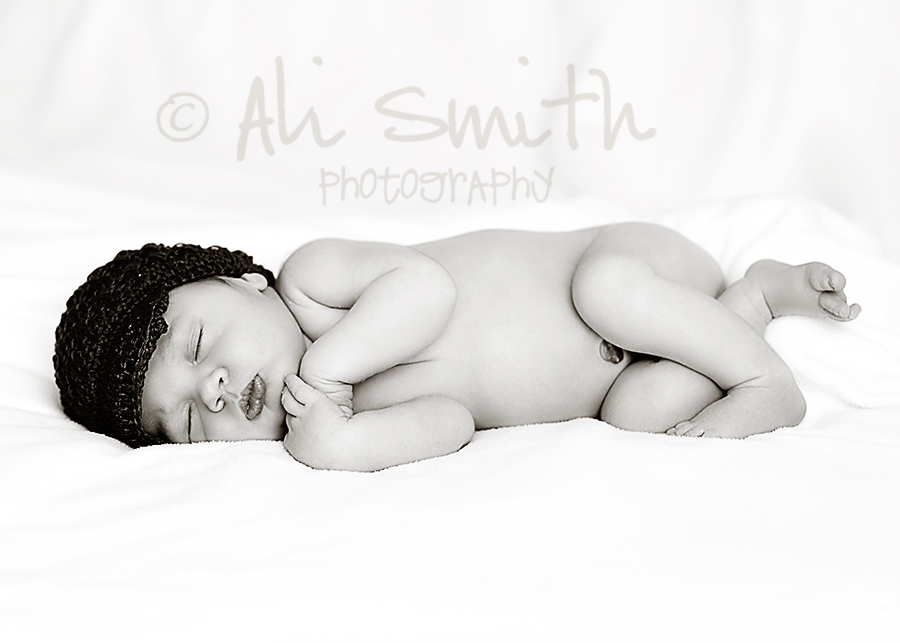
Oh. My. Goodness. I can't even begin to tell you how adorable this little guy is. Oh wait...I don't have to, because you can see for yourself! He was so absolutely precious and I seriously could have just taken him home with me. Thank you Melonie for letting me spend some time with your new little guy and letting me rock him to sleep. I hope I get to meet the rest of your family next time! :) (More information on booking your newborn session HERE)
Friday, October 8, 2010
Miss Julia
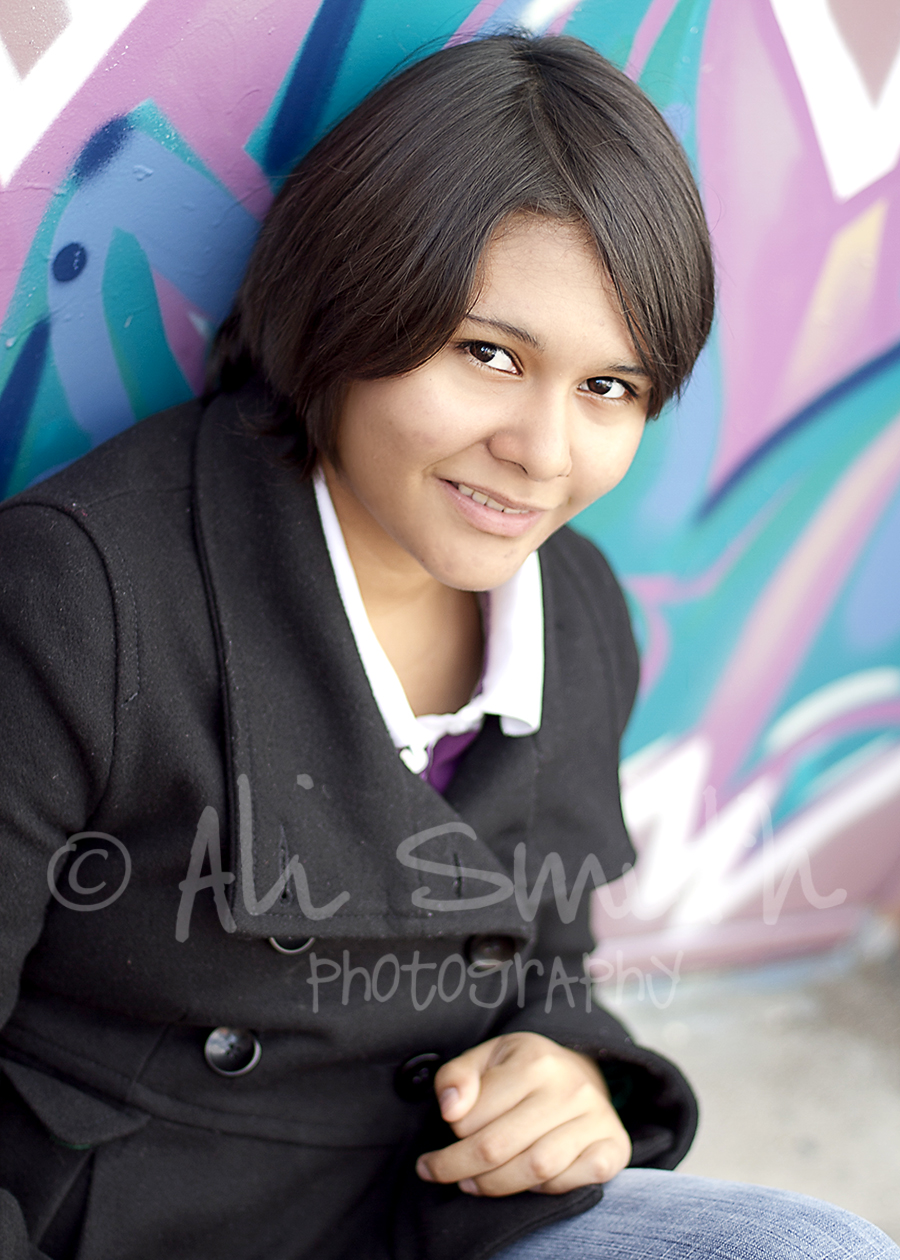
Went out on Wednesday for a little mini-shoot with this lovely lady. It took a bit of coaxing, but managed to get a couple of smiles out of her any way. :)
Tuesday, October 5, 2010
Boise ID Family Photographer - More "S" Family
Whew...what a busy last few days. I haven't had too much time to get in front of the computer and get some editing done until this evening. Here are a few more from our shoot last Saturday...
Back to work I go! Hope to add some more to the Facebook page tonight...we'll see!
Color or B&W?
Back to work I go! Hope to add some more to the Facebook page tonight...we'll see!
Monday, October 4, 2010
Before & After
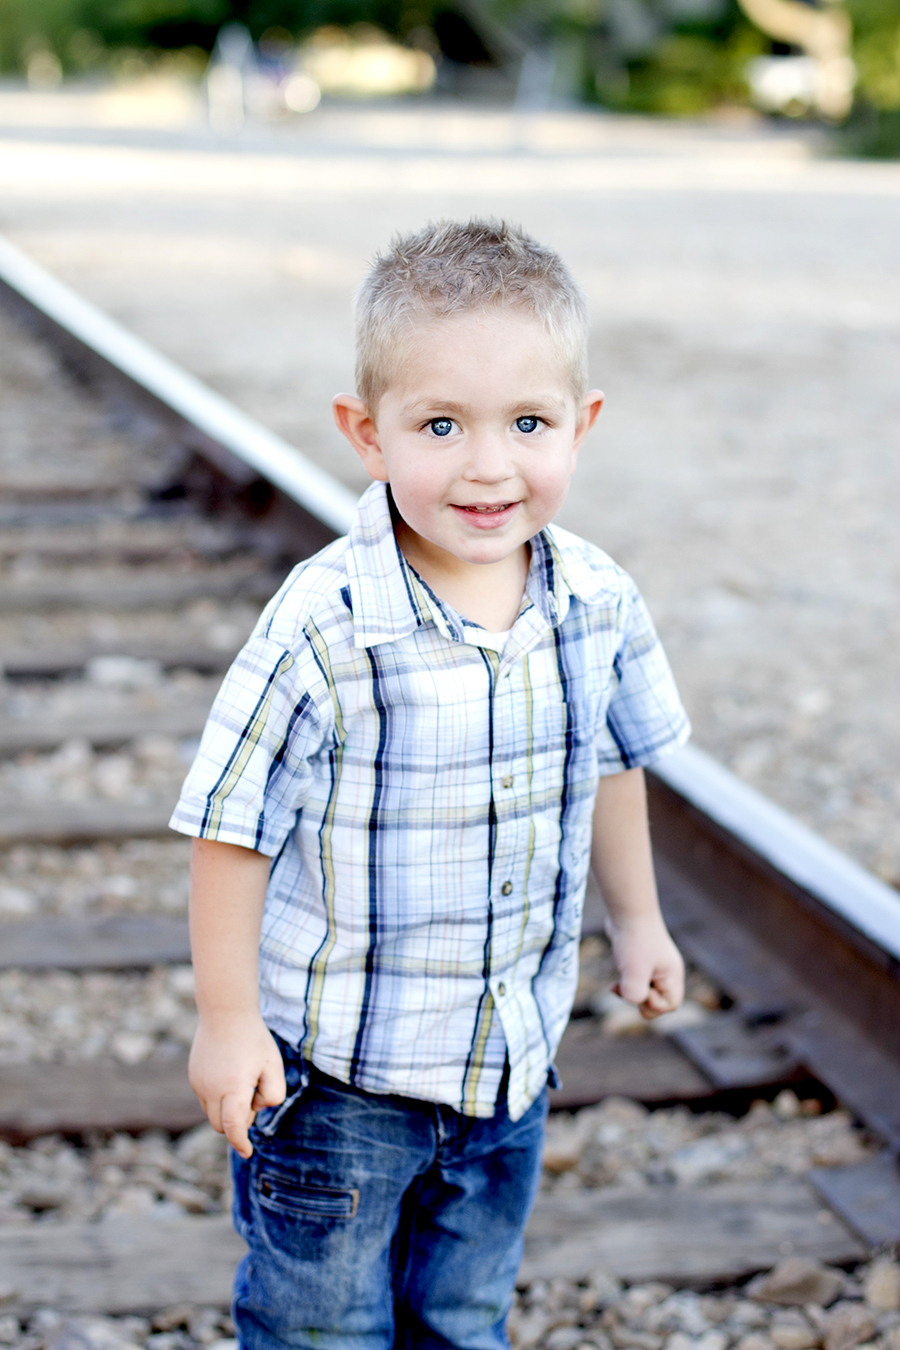
So, I thought it might be fun to do a weekly "Before & After" post, where the readers get to see a shot straight-out-of-camera (SOOC) and the same shot after I have done my post-processing. I will also give you a list of steps I took to get it to its final step. Alright, here is my shot:
(For those of you whose eyes glaze over at all of the technical stuff that is a foreign language to you, scroll down all of the way to see the "after" image. For those photoshop junkies like myself, who would like to see the steps I take, keep reading!)
First off, I always start my editing in Adobe Lightroom. With this photo, you can see that it's a tad overexposed, so I bumped down the exposure about a 1/3 of a stop to bring back some of the blown-out highlights. I did a "recovery" of about 10, just to even out the skintone of his face. The white balance is actually just about where I want it to be for this particular photo, so I will leave that alone for now. Then I take out a majority of the contrast (down to 10), because I like to make my contrast adjustments within Photoshop Elements (PSE) using levels. I find that if I do it in Lightroom, it seems to tweak the colors a bit. That's all I really needed to do to this particular photo in Lightroom. Now I send it to PSE to the majority of my editing.
Once in PSE, I get to start the fun part of figuring out what will look best with each particular photo. No two photos are ever edited exactly the same. My hubby just happened to ask me last night if editing ever got boring...doing the same thing over and over and over. The answer is "absolutely not!" I'm never really doing the same thing over and over. It's kind of like art, ya know? I'm making my own "creation" using a mixture of different things. Some photos only take me a few minutes and they don't need much work. Other photos I experiment for a long time trying to get it exactly how I want it. I LOVE editing. I truly enjoy it. I could spend hours just reading and researching and learning new editing techniques...learning how to do things in the least destructive (to the file) manner...and then getting to apply those techniques to my photos. Yep...I love it. :)
Alright, so now we're in PSE. The first thing I do is adjust my levels to bring back the contrast. I do it as a levels adjustment layer, darkening the shadows (sliding the black arrow to the right), brightening the highlights (sliding the white arrow to the left), and evening out and brightening up the skintone (sliding the gray middle slider to the left). I also then use the "Eye Love" action from the CoffeeShop Blog (I have to add that if you have never checked out the CoffeeShop blog, then you MUST! They have GREAT content, plus TONS of FREE and WONDERFUL PS actions that are compatible with PSE. I use their actions ALL the time!) The "Eye Love" action just adds a bit of sparkle to the eyes and brightens them up a bit. It really emphasizes the colors that are in the eyes...it's wonderful and really makes the eyes "POP." Here is the photo after the levels adjustment and "Eye Love" action:
What a big difference a quick levels adjustment and "Eye Love" makes! I really could just sharpen up the image and be done...but that would be too easy! I want to add some "Ooomph!"
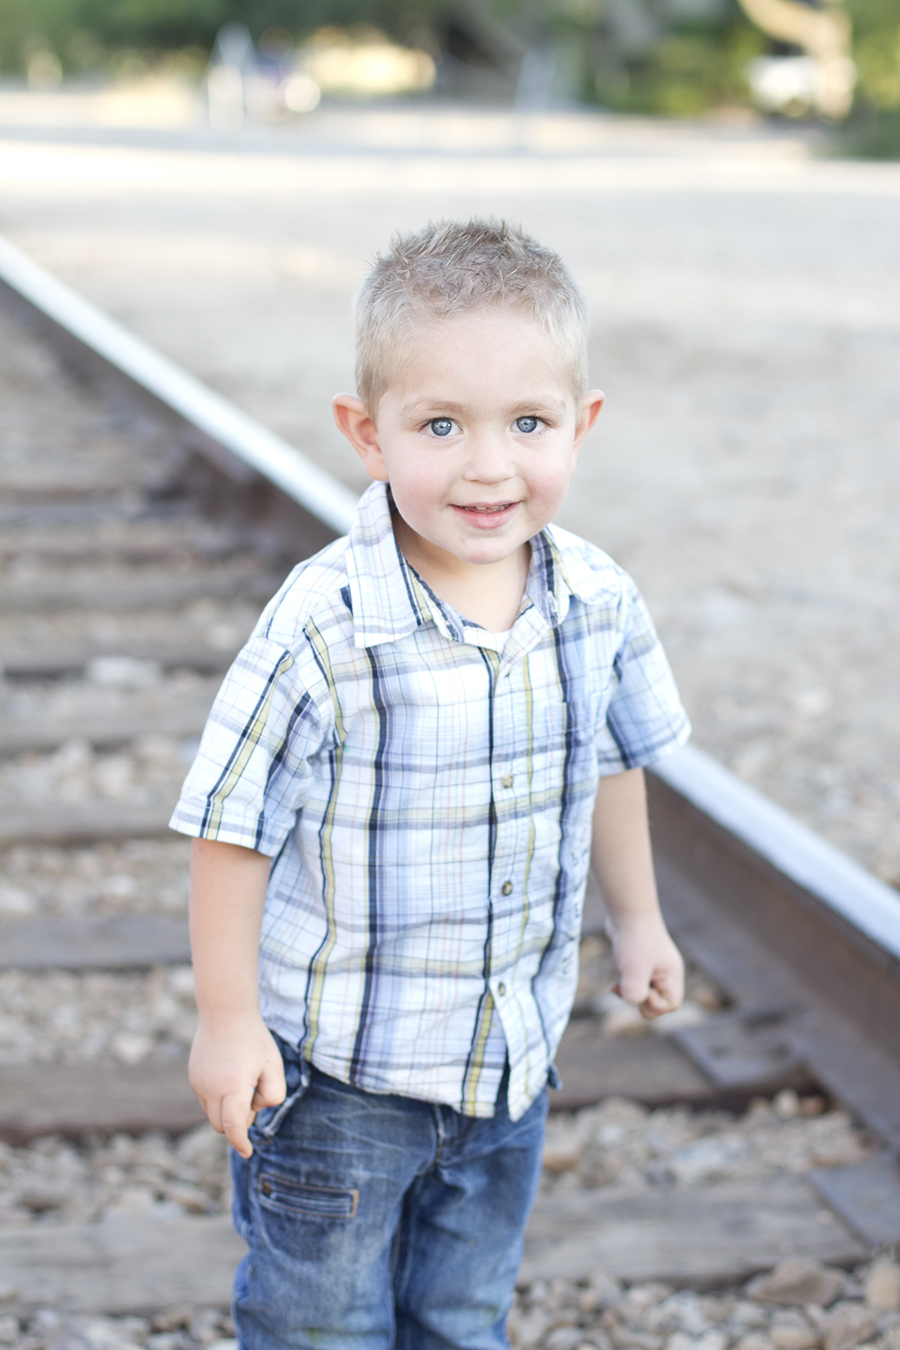
I LOVE adding textures to my photos. I really have to try to restrain myself from adding it to every single photo. Lol. You can find MANY freebie textures out there on flickr, but my very favorite textures are ones I got from Patti Brown Photography's "Supernatural Collection" For this photo I used "Fantasy" and applied it with the "Give it Texture" action from CoffeeShop. I masked out 100% of the texture from his upper body (left the pants alone) and added back about 25% of the texture color. I then sharpened the photo using the "CoffeShop Sharpen" action and added a 50% vignette using the "CoffeeShop Vignette" action. Then decided that's all I needed! Here is the finished product....amazing what a difference it makes, eh?
There ya go! Just one example of the fun I have AFTER the memories have been captured, to turn them into a one of a kind piece of "art" for you. :) Let me know what you think of this "Before/After" post and maybe I'll make this a weekly post...?
(For those of you whose eyes glaze over at all of the technical stuff that is a foreign language to you, scroll down all of the way to see the "after" image. For those photoshop junkies like myself, who would like to see the steps I take, keep reading!)
First off, I always start my editing in Adobe Lightroom. With this photo, you can see that it's a tad overexposed, so I bumped down the exposure about a 1/3 of a stop to bring back some of the blown-out highlights. I did a "recovery" of about 10, just to even out the skintone of his face. The white balance is actually just about where I want it to be for this particular photo, so I will leave that alone for now. Then I take out a majority of the contrast (down to 10), because I like to make my contrast adjustments within Photoshop Elements (PSE) using levels. I find that if I do it in Lightroom, it seems to tweak the colors a bit. That's all I really needed to do to this particular photo in Lightroom. Now I send it to PSE to the majority of my editing.
Once in PSE, I get to start the fun part of figuring out what will look best with each particular photo. No two photos are ever edited exactly the same. My hubby just happened to ask me last night if editing ever got boring...doing the same thing over and over and over. The answer is "absolutely not!" I'm never really doing the same thing over and over. It's kind of like art, ya know? I'm making my own "creation" using a mixture of different things. Some photos only take me a few minutes and they don't need much work. Other photos I experiment for a long time trying to get it exactly how I want it. I LOVE editing. I truly enjoy it. I could spend hours just reading and researching and learning new editing techniques...learning how to do things in the least destructive (to the file) manner...and then getting to apply those techniques to my photos. Yep...I love it. :)
Alright, so now we're in PSE. The first thing I do is adjust my levels to bring back the contrast. I do it as a levels adjustment layer, darkening the shadows (sliding the black arrow to the right), brightening the highlights (sliding the white arrow to the left), and evening out and brightening up the skintone (sliding the gray middle slider to the left). I also then use the "Eye Love" action from the CoffeeShop Blog (I have to add that if you have never checked out the CoffeeShop blog, then you MUST! They have GREAT content, plus TONS of FREE and WONDERFUL PS actions that are compatible with PSE. I use their actions ALL the time!) The "Eye Love" action just adds a bit of sparkle to the eyes and brightens them up a bit. It really emphasizes the colors that are in the eyes...it's wonderful and really makes the eyes "POP." Here is the photo after the levels adjustment and "Eye Love" action:
What a big difference a quick levels adjustment and "Eye Love" makes! I really could just sharpen up the image and be done...but that would be too easy! I want to add some "Ooomph!"
I LOVE adding textures to my photos. I really have to try to restrain myself from adding it to every single photo. Lol. You can find MANY freebie textures out there on flickr, but my very favorite textures are ones I got from Patti Brown Photography's "Supernatural Collection" For this photo I used "Fantasy" and applied it with the "Give it Texture" action from CoffeeShop. I masked out 100% of the texture from his upper body (left the pants alone) and added back about 25% of the texture color. I then sharpened the photo using the "CoffeShop Sharpen" action and added a 50% vignette using the "CoffeeShop Vignette" action. Then decided that's all I needed! Here is the finished product....amazing what a difference it makes, eh?
There ya go! Just one example of the fun I have AFTER the memories have been captured, to turn them into a one of a kind piece of "art" for you. :) Let me know what you think of this "Before/After" post and maybe I'll make this a weekly post...?
Subscribe to:
Posts (Atom)